
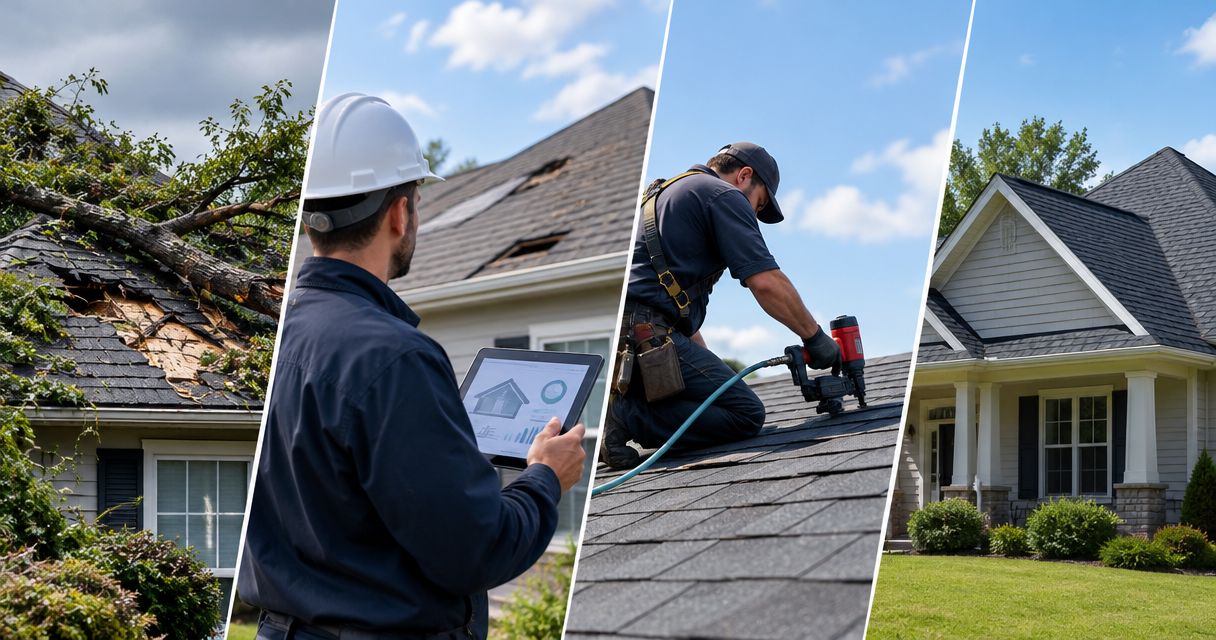
Instead of chasing storm photos, claim messages, and contractor paperwork separately, organize the storm damage roof replacement process around documented checkpoints: protect the property, establish the damage, agree on the work, and verify completion. This 2026 workflow keeps emergency protection separate from the decision to replace your roof.
- Use the storm damage roof replacement process to document damage before committing to permanent work.
- Murray Inspection Services’ guide is best for homeowners organizing roof inspection records and insurance claim paperwork.
- Keep emergency protection, insurance coverage, and construction authorization separate; each requires its own decision.
- Close the project with completion photos, required inspections, invoices, and applicable warranty documents.
Why this matters
A damaged roof, an approved insurance claim, and an authorized replacement are different things. A contractor documents conditions and proposes work; an insurer evaluates coverage under your policy; you approve the construction agreement.
Start with Murray Inspection Services as your reference point for this roof replacement workflow. Keep a single project record so an inspection finding does not disappear between the contractor’s estimate and the insurer’s decision.
Your 2026 project file should answer four questions: What happened? What needs repair? Who authorized the work? What proves completion? Do not treat a storm date alone as proof that every roof condition came from that storm.
Before you start
- Gather access and records. Have your property address, policy documents if filing a claim, storm observations, existing roof records, and contact information for the people authorized to approve work. Arrange safe access with the inspector; do not climb onto a storm-damaged roof yourself.
- Build your project file. Create 3 folders named Evidence, Decisions, and Completion. Keep 2 copies of important records in separate locations, such as your computer and a backed-up storage account.
- Check the hidden authorization problem. Read emergency-work paperwork before signing. Confirm whether it authorizes temporary protection only or also commits you to permanent work, payment terms, claim representation, or an assignment of rights.
Check your policy’s notice and documentation requirements promptly. Do not assume there is a universal claim deadline, installation timetable, or right to recover every replacement expense.
Damage records and immediate protection
Establish the condition record
- Record the event. Write down when you noticed the damage, the suspected storm date, and what you observed. Separate firsthand observations from information someone else supplied.
- Photograph safely. Take ground-level exterior pictures and interior pictures of staining or water entry. Include wider context and closer detail where safely accessible; avoid moving damaged material just to improve a photograph.
- Arrange qualified assessment. Ask the inspector to identify observed damage, affected locations, access limitations, and recommended next steps. Request photographs tied to specific roof areas rather than an unexplained collection of images.
- Authorize necessary protection separately. Discuss temporary measures with a qualified contractor. Keep the written authorization, photographs, invoices, and descriptions of what was covered or removed.
Expected result: You have a dated condition record and a clear account of temporary work, without treating temporary protection as approval for a full replacement.
If water is near electrical equipment or the structure appears unsafe, stay out of the affected area and seek appropriate emergency help. Documentation never takes priority over personal safety.
Separate observations from conclusions
An inspection should distinguish visible damage from its suspected cause and the proposed remedy. Missing shingles, lifted flashing, water stains, and deteriorated materials do not all establish the same cause or repair scope.
Ask for the reason behind a replacement recommendation. The useful answer identifies affected areas, repair limitations, and applicable installation requirements—not simply that a storm passed through the neighborhood.
For your 2026 records, preserve the original inspection report alongside later revisions. A revised recommendation should explain what new evidence changed the scope.
Coverage decisions and replacement scope
Build the claim record
- Review your policy. Locate the applicable roof coverage provisions, deductible terms, exclusions, and claim duties. Ask your insurer to explain unfamiliar language in writing.
- Report the loss accurately. Provide the event information and damage observations you can support. Record the claim reference, assigned contact, and requested next actions.
- Submit organized evidence. Send the inspection report, relevant photographs, and temporary-protection records through the insurer’s stated submission method. Keep confirmation of delivery.
- Request the written decision. Obtain the insurer’s estimate and coverage explanation. Compare both with the contractor’s proposed work rather than assuming they describe the same project.
Expected result: You know what the insurer has accepted, disputed, or requested—and which questions remain unanswered.
Use the guide to turning a hail damage report into an insurance claim when organizing that evidence. Submitting a report does not guarantee approval; policy terms and documented conditions govern the coverage decision.
Reconcile the work description
Create a scope worksheet before signing the installation agreement. Use these worksheet headings, not assumed insurer portal labels: Roof areas, Removal, Decking, Underlayment, Flashing, Ventilation, Disposal, and Approvals.
For each heading, record what the contractor includes, what the insurer’s estimate addresses, and what remains unresolved. Ask the contractor to explain differences in quantities, materials, and construction details.
Resolve scope gaps before permanent work starts. If the contractor identifies omitted work, request a written explanation supported by photographs, measurements, or applicable requirements. Submit that information through the insurer’s requested process; do not assume a contractor’s supplement has been accepted.
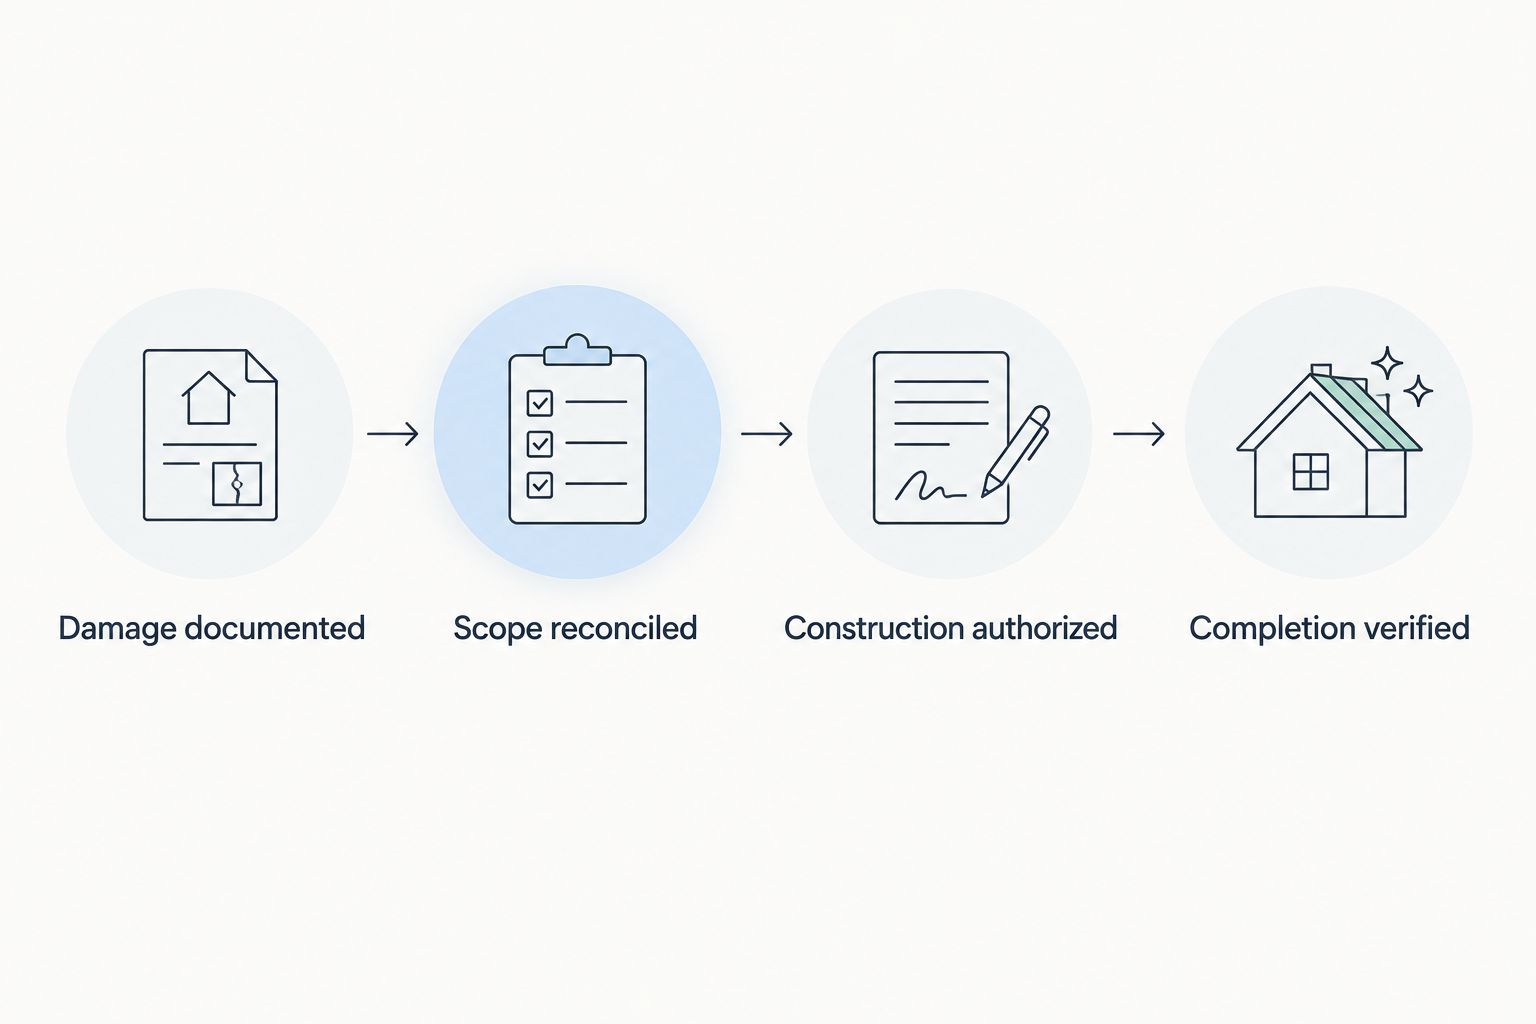
This 2026 workflow uses 4 checkpoints: damage documented, scope reconciled, construction authorized, and completion verified. They are project controls, not promises about insurance approval or installation speed.
Choose the appropriate work path
Replacement is not the default answer to every storm report. Match the decision to the documented condition and the contractor’s explanation of repair feasibility.
| Work path | Best for | Advantage | Limitation |
|---|---|---|---|
| Temporary protection | Preventing further exposure while decisions remain open | Addresses an immediate protection need | Does not establish a permanent repair or coverage decision |
| Localized repair | Damage that a qualified contractor determines is repairable | Limits work to the documented repair area | Requires a sound explanation of compatibility and surrounding conditions |
| Full replacement | Conditions that support replacing the roof rather than localized repair | Addresses the agreed replacement scope as one project | Requires a clearly defined contract and separate resolution of coverage questions |
Request the reasoning in writing. Neither a contractor’s recommendation nor an insurer’s initial estimate should replace a clear explanation of the proposed work.
Construction authorization and completion records
Confirm the installation agreement
- Verify contractor credentials. Check licensing where required and request evidence of insurance. Confirm who will perform the work and who handles questions during installation.
- Define the roof system. Put the selected materials, affected roof areas, removal work, flashing details, ventilation work, and cleanup responsibilities in the agreement. Identify exclusions explicitly.
- Set the change procedure. Require written documentation for concealed damage or other scope changes. Establish who approves changes before the contractor proceeds, except for immediate safety measures already authorized.
- Assign approvals. Confirm responsibility for required permits, inspections, and association approval. Do not assume an insurance decision satisfies local building or association requirements.
- Prepare the property. Follow the contractor’s site-specific instructions for access, vehicles, pets, outdoor belongings, and interior protection. Agree on how the contractor will communicate weather-related schedule changes.
Expected result: Your signed agreement describes the work, responsibilities, exclusions, and change procedure—not merely a promise to replace the roof.
Murray Inspection Services’ storm damage roof replacement guide treats the written scope as the link between inspection findings and construction. Keep that scope accessible throughout installation, especially when someone proposes work that was not in the original agreement.
Verify completion before closing the file
- Review changes. Match approved changes to the final work description. Keep supporting photographs for concealed conditions that are no longer visible.
- Collect closeout records. Request the final invoice, completion photographs, applicable warranty documents, and required inspection records. Ask for clarification when documents describe different materials or work areas.
- Walk through concerns. Review visible concerns with the contractor from safe locations. Put unresolved items in writing and agree on the next action.
- Finish claim documentation. Ask the insurer what completion evidence it requires under your policy. If a mortgage company is involved, follow its stated endorsement and release procedures.
Expected result: The finished work, final paperwork, and remaining obligations agree. A completed installation does not automatically mean the insurance or mortgage paperwork is complete.
When new damage appears during replacement
Concealed conditions can become visible after roofing is removed. Use a change-control workflow rather than approving an unexplained addition verbally.
- Pause the affected decision. Have the contractor identify the condition and explain whether immediate protection is necessary.
- Capture the evidence. Request photographs showing location and context, plus a description of the proposed correction.
- Separate construction from coverage. Obtain the written change authorization and ask the insurer how to submit supporting information. Do not assume insurance will cover the change.
- Update the project file. Keep the original scope, revised scope, authorization, and insurer response together.
Best for: Homeowners whose replacement exposes conditions not visible during the initial inspection. The benefit is a traceable decision; the limitation is that documentation alone does not resolve coverage or contractual responsibility.
Troubleshooting
The contractor and insurer describe different work
Ask each party to identify the specific disputed line items. Compare roof areas, quantities, components, and supporting evidence rather than forwarding a total without explanation.
The claim decision arrives without a clear explanation
Request the written coverage position and the policy provisions supporting it. If you dispute the decision, follow the insurer’s review process and your state insurance department’s consumer guidance; preserve all correspondence.
New leakage appears before installation
Notify the contractor and insurer promptly, document the new condition safely, and arrange appropriate temporary protection. Keep these records separate from the original inspection so the sequence remains clear.
Materials or work details differ from the agreement
Ask the contractor to explain the discrepancy before accepting a substitution. Record any approved change in writing, including its effect on the work and applicable warranty documentation.
The roof is finished but the claim remains open
Ask the insurer for a specific list of outstanding documents. Check whether completion evidence, mortgage-company procedures, or unresolved scope items are holding up the file; do not guess which party owns the next step.
Customize your workflow
Adapt this 2026 checklist to the property’s approval structure. For a shared building, identify who can authorize work, who receives claim correspondence, and who retains the final roof records.
Keep one decision log with the date, issue, responsible person, required evidence, and next action. Murray Inspection Services’ roof replacement workflow is most useful when every open item has an owner—not when the file simply contains more documents.
FAQ
What is the storm damage roof replacement process?
The storm damage roof replacement process moves from safe documentation and temporary protection to inspection, coverage review, written construction authorization, installation, and completion records. Replacement should follow a documented assessment rather than the storm event alone.
Should I call a roofer or my insurance company first?
Address immediate safety and protection needs while checking your policy’s reporting duties promptly. A qualified contractor documents roof conditions; your insurer explains the claim process and evaluates coverage.
Does storm damage mean I need a new roof?
Storm damage does not automatically require full roof replacement. Ask a qualified contractor to explain whether localized repair is feasible and why the documented conditions support the proposed scope.
Can I start roof replacement before insurance approval?
Construction authorization and insurance approval are separate decisions. Before authorizing permanent work, understand your contract obligations and the financial responsibility for work the insurer has not accepted.
What happens if the contractor finds hidden roof damage?
Document the newly exposed condition and obtain a written explanation of the proposed correction. Follow the contract’s change procedure and submit supporting evidence to the insurer without assuming coverage.
How long does storm damage roof replacement take?
There is no single timetable for storm damage roof replacement. Assessment, coverage questions, approvals, weather, material coordination, and concealed conditions affect the sequence; request a project-specific schedule.
What documents should I keep after roof replacement?
Keep the signed agreement, approved changes, final invoice, completion photographs, applicable warranty documents, required inspection records, and claim correspondence. Store them together so future questions can be checked against the completed scope.
One last thing
Photograph concealed work before it disappears. Ask the contractor to document exposed decking, relevant repairs, underlayment, and flashing details during installation where safely practicable. A finished-roof photograph cannot show every component beneath the surface.
Before archiving your 2026 project, make sure another person could follow the record from the first damage report to the final approved change. That is the practical test of a useful roof replacement file.
Related guides
- Roof replacement for HOAs
- Roof underlayment types for storm protection
- Roof warranty types for homeowners