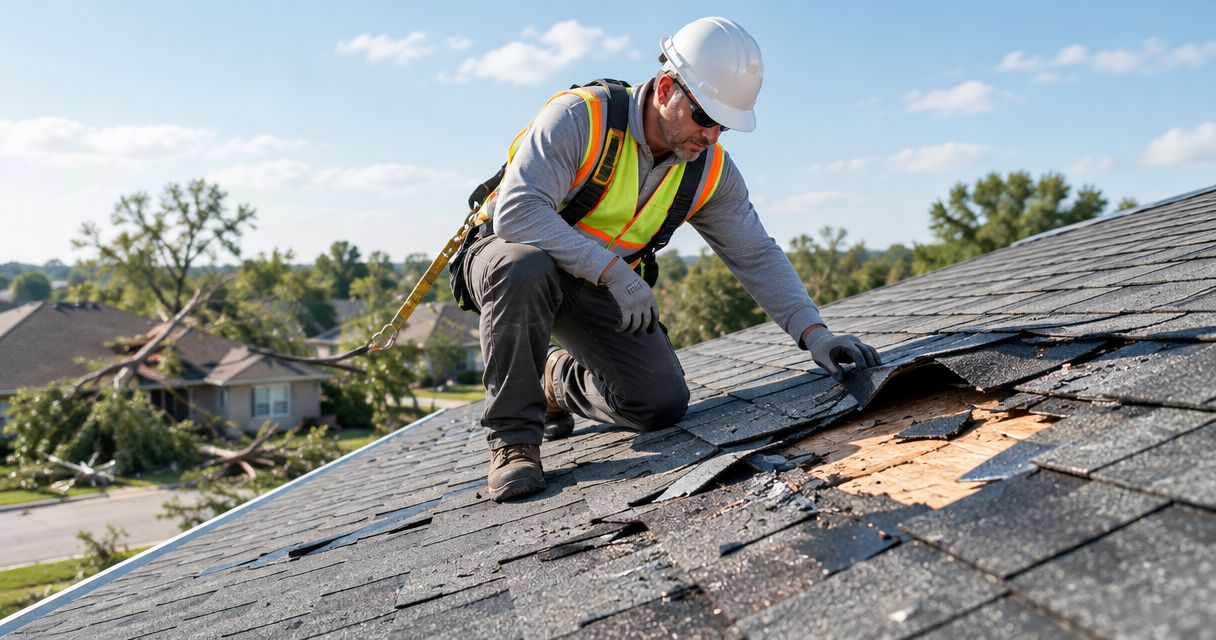

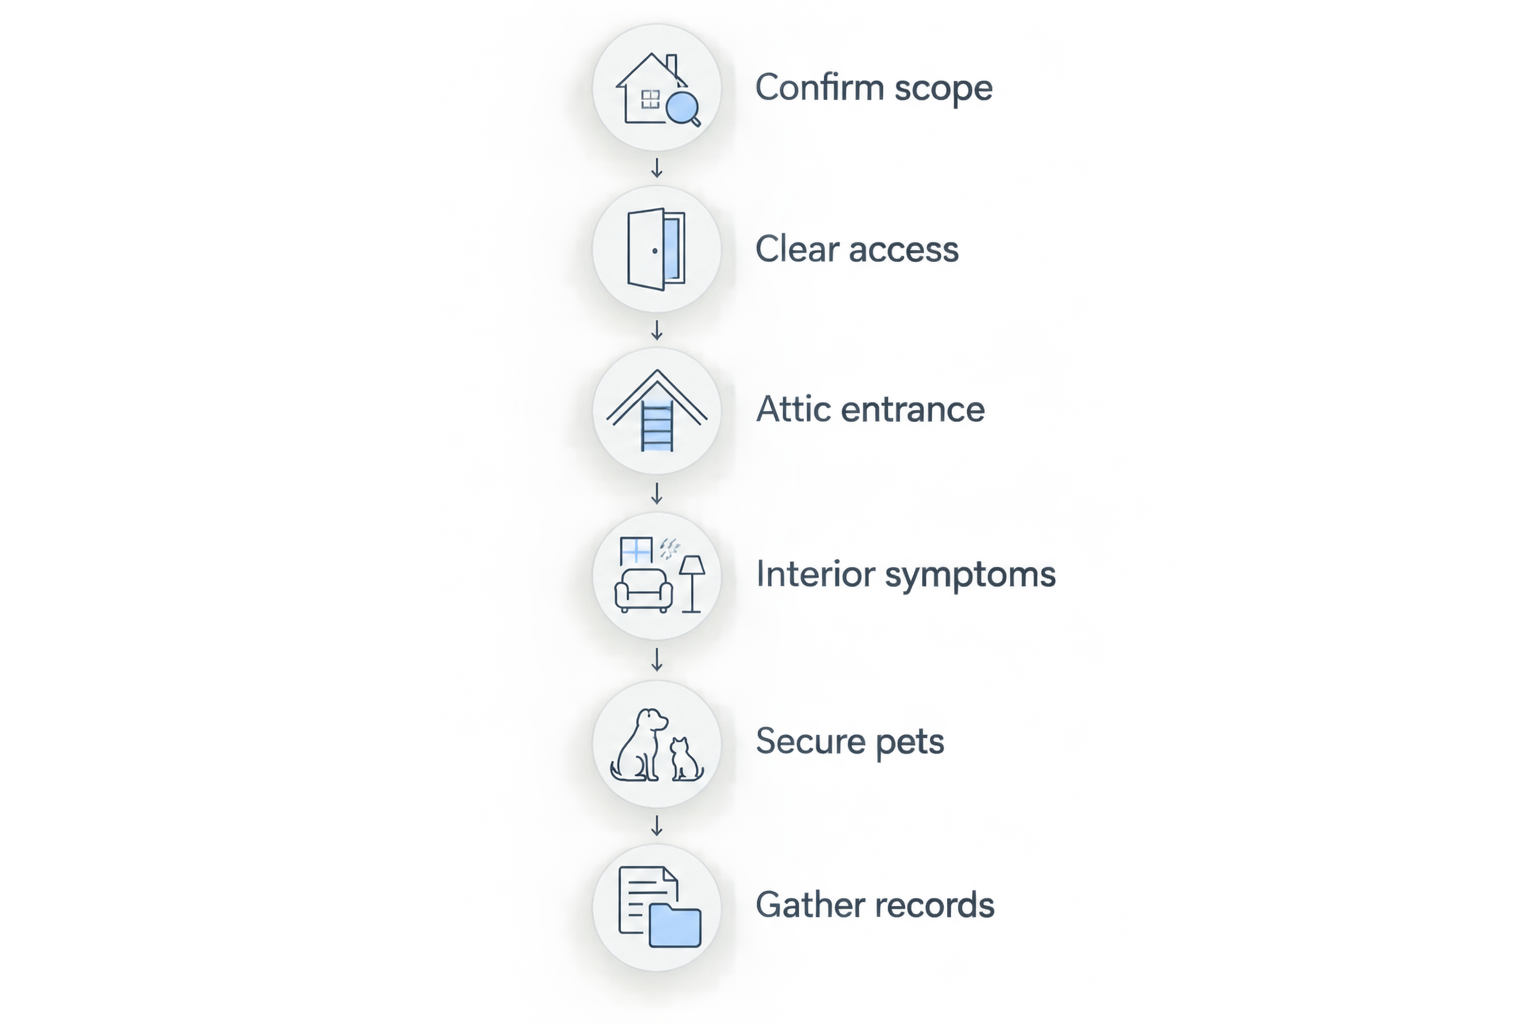
To prepare your home for a roof inspection, clear safe ground-level access, make the attic entrance accessible if requested, secure pets, and gather records of leaks, repairs, and storm damage. Leave ladders, roof walking, and difficult access to the inspector; preparation does not require you to climb onto the roof or repair suspected damage first.
- To prepare home for roof inspection appointments, clear access, secure pets, and organize your roof history.
- For homeowners contacting Murray Inspection Services, prioritize safe roof inspection access over cosmetic cleanup.
- Ask whether the roof inspection includes attic access, interior leak checks, photographs, and a written report.
- Document suspected damage from a safe location; leave roof walking and ladder setup to the inspector.
Why this matters
Prepare access and evidence, not the roof’s appearance. Your job is to help the inspector reach agreed inspection areas and understand what you have noticed. Cleaning away a stain or covering a damaged area before documenting it removes useful context.
When contacting Murray Inspection Services, explain whether you want a routine condition check, help investigating a leak, or documentation after a storm. Ask what the appointment includes before arranging access or moving belongings.
For a 2026 appointment, gather current observations alongside older records. Keep each document’s original date so a past repair is not confused with a newly reported problem.
How do I prepare my home for a roof inspection?
Follow these steps before the inspector arrives. Stay on the ground, use normal household access, and stop wherever preparation would require climbing, handling damaged materials, or entering an unsafe space.
1. Confirm the inspection scope
Ask which areas the inspector intends to examine: the exterior, roof surface, attic, interior ceilings, or some combination. Confirm who needs to be present and how inaccessible areas will be documented.
Do not assume that every roof inspection includes the same work. A condition assessment, a leak investigation, and an insurance-related visit can have different purposes; the agreed scope determines what you need to make accessible.
2. Clear ground-level access
Unlock the agreed gate and move portable obstacles from the route to the house. Put away toys, garden hoses, loose furniture, and equipment that obstruct walkways.
Ask whether a vehicle needs moving before changing your parking arrangements. Leave ladder placement and working clearances to the inspector, and identify nearby overhead wires or other visible hazards without approaching them.
3. Make the attic entrance accessible
If attic access is included, remove ordinary household clutter beneath or in front of the entrance. Tell the inspector whether the opening is inside a closet, garage, hallway, or another room.
Clear the entrance; do not create a walking route through unfinished attic space. Do not move insulation, step between framing members, or enter an area with exposed wiring, unstable flooring, or suspected structural damage.
4. Make interior symptoms easy to locate
List the rooms where you have noticed stains, drips, peeling finishes, or damp smells. Move small, portable belongings away from those areas when you can do so safely, and point out anything that has already been repaired or repainted.
Describe what happens rather than naming a cause. A stain near a chimney is an observation; a failed chimney flashing is a diagnosis that requires examination.
5. Secure pets and coordinate household access
Keep pets away from gates, ladders, attic openings, and rooms the inspector needs to enter. Tell everyone at home which areas must remain accessible during the appointment.
Give tenants or other occupants the required notice through the appropriate property contact. If you will be away, agree on access arrangements directly rather than leaving doors or gates unsecured.
6. Gather records and write down questions
Collect previous inspection reports, repair invoices, warranty documents, and photographs you already have. Separate confirmed information from estimates, especially when you do not know the roof’s installation date.
Write down what you want answered before the appointment. Useful questions include where the observed problem originates, which findings need further evaluation, and what limitations prevented a complete inspection.
What should I prepare for different inspection areas?
Match your preparation to the inspection scope. Exterior access does not automatically mean attic entry is included, and a clear attic opening does not make the entire attic safe to enter.
| Inspection area | Best for | Useful preparation | Limitation to understand |
|---|---|---|---|
| Exterior observation | Pointing out visible concerns and access obstacles | Unlock agreed gates and identify problem areas from the ground | Ground-level views do not reveal every roof condition |
| Roof-surface assessment | Examining accessible roof components | Clear the approach and disclose known hazards | Weather, roof condition, and access affect whether walking is safe |
| Attic examination | Looking for accessible underside evidence of moisture or roof-related concerns | Clear the entrance and identify known hazards | Insulation, stored items, and inaccessible spaces restrict visibility |
| Interior examination | Connecting reported leaks with visible indoor symptoms | Identify affected rooms and make them accessible | An interior stain alone does not establish the water’s entry point |
Each inspection area contributes different evidence. Ask the inspector to distinguish between an area that was examined and an area that could not be reached or seen; those are not equivalent findings.
What roof records should I have ready?
Build a simple folder rather than searching for paperwork during the visit. Include your roof’s installation information if documented, records of repairs, previous findings, and photographs showing changes over time.
For your 2026 inspection folder, keep the original files as well as any summary you create. A dated photograph and a repair invoice provide different kinds of information, so label them separately rather than treating either as proof of the whole roof’s condition.
Useful notes explain:
- Location: Identify the room, roof edge, chimney area, or other recognizable feature.
- Timing: Record when you first noticed the issue and when it happened again.
- Conditions: Describe whether the symptom appeared during rain, after wind, or under another observed condition.
- Prior action: Note repairs, temporary protection, repainting, or previous evaluations.
- Open questions: Identify what you still need explained.
Do not recreate a precise installation date from memory. Mark uncertain information as uncertain and provide the underlying document when you have one.
Why roof inspection preparation varies
The preparation checklist changes with the property and the reason for the visit. These factors determine what access and information to arrange:
- Inspection purpose: A recurring leak calls for a symptom history; a general condition check calls for broader maintenance records.
- Attic entrance location: A closet hatch requires different household arrangements from an opening in a garage.
- Property access: Locked gates, shared driveways, and tenant-occupied spaces require coordination.
- Visible hazards: Overhead wires, unstable steps, damaged decking, and electrical concerns need disclosure, not homeowner correction.
- Weather and surface conditions: Rain, wind, ice, and wet surfaces affect safe access. Confirm arrangements with the inspector rather than deciding roof access yourself.
- Recent damage or repairs: Fresh storm observations and temporary repairs need a dated explanation so the inspector understands the sequence.
For a storm-related visit in 2026, note the actual event date separately from the appointment date. The guide on scheduling an inspection after a storm addresses that next scheduling question.
Should I clean or repair my roof before the inspection?
Do not climb onto the roof to prepare for an inspection. Leave roof-level debris removal, gutter work, pressure washing, sealant application, and suspected repairs to appropriately qualified professionals.
Ground-level tidying helps access; altering the roof is a different task. Applying sealant or replacing materials before the condition is documented changes what the inspector can observe.
Active leaks and immediate hazards require a different response from routine preparation. Keep people away from affected electrical equipment, sagging ceilings, and visibly unstable areas, and seek appropriate professional help rather than waiting for a routine appointment. Document temporary protective work only when doing so is safe.
Do I need to be home for a roof inspection?
You need to be available in the way agreed with the inspector, especially when the visit includes interior or attic access. Confirm attendance requirements instead of assuming an exterior appointment needs no household coordination.
If someone else will provide access, give that person the symptom list and permission instructions. A designated contact should know which rooms have concerns and how to reach you if the scope needs clarification.
What should I ask before the inspector leaves?
Ask what was examined, what was inaccessible, and which findings require action or further evaluation. A useful next step identifies both the concern and the evidence supporting it.
Use these questions to keep the discussion specific:
- Which observations relate to the problem I reported?
- What remains uncertain, and what additional examination would resolve it?
- Which areas were excluded or inaccessible?
- Will the report distinguish observations from recommendations?
- Are temporary protective measures needed before other work?
- Who should evaluate concerns outside the inspection’s scope?
For a 2026 report, check that the property details, inspection date, and photographs identify the correct visit. Ask for clarification when a recommendation does not explain the location or condition involved.
FAQ
What is the most important thing to do before a roof inspection?
Clear safe access to the agreed inspection areas and explain the problems you have observed. Leave roof climbing, ladder placement, and difficult access to the inspector.
Should I move my car before a roof inspection?
Move your car if it blocks the agreed access route or the inspector requests a clear working area. Ask where to park rather than guessing where equipment will be placed.
Do roof inspectors need access to my attic?
Attic access depends on the agreed inspection scope. Ask before the appointment, then clear the entrance without entering unsafe or unfinished areas yourself.
Can I prepare for a roof inspection without going onto the roof?
Yes, you can prepare from the ground and through normal household access. Clear walkways, organize records, secure pets, and identify interior symptoms without using a ladder.
Should I paint over a ceiling stain before a roof inspection?
Leave the stain visible until it has been documented and discussed with the inspector. Tell the inspector about earlier repainting or repairs so the visible condition has context.
What should I tell Murray Inspection Services before an appointment?
When contacting Murray Inspection Services about a roof inspection, describe your concern and ask which areas need access. Mention known hazards, pets, locked gates, and any deadline connected with the visit.
Does a roof inspection report guarantee insurance coverage?
A roof inspection report does not guarantee insurance coverage. Coverage depends on the policy and the insurer’s claim determination; inspection findings document conditions rather than decide coverage.
One last thing
A dry ceiling on inspection day does not erase a reported leak. Bring the photographs and notes that show what happened, including the location and circumstances, rather than relying on the symptom to reappear during the appointment.
Before your 2026 visit, send your questions to the inspection contact and keep a copy with your records. When speaking with Murray Inspection Services, separate what you saw from what you suspect; that distinction keeps the roof inspection discussion focused on evidence.
Related guides
- Can roof hail damage be invisible from the ground?
- From roof inspection to contractor bid comparison
- Connecting a roof inspection report to your mortgage closing